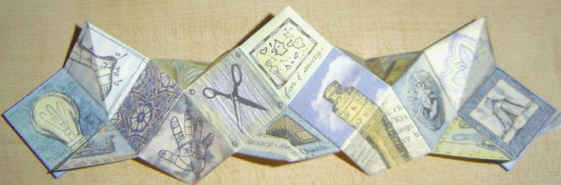
The construction of the book part of the booklace is similar to what I've
since seen described as a 'flower fold' book in Alisa Golden's "Creating
Handmade Books". Although (as usual) in my case, I saw a similar book a
friend had made and couple of minutes with it showed me roughly what needed
to be done, and I tinkered with it till I got it right ...
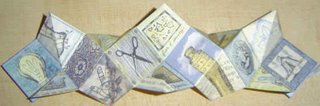
1. Decide what the folded size of your booklace will be (1.25" for the one I
made). On paper, draw 5 squares 2.5 x 2.5", each one divided into 4
'panels', each one 1.25" square. Cut out the 5 large squares.
2. Layout the 5 large squares in a diagonal line, overlapping the corner
panels as you go. Stretch out my booklace, and you'll see that (reading left
to right) panel#4 of square#1 overlaps panel#1 of square #2, panel #4 of
square #2 overlaps panel#1 of square #3, and so on. You can make a booklace
using any ODD number of large squares.
3. Mark with an 'X' in pencil which panels are the UNDERNEATH ones of the
overlaps. You don't need to collage on these squares since they will be
hidden in the construction process.
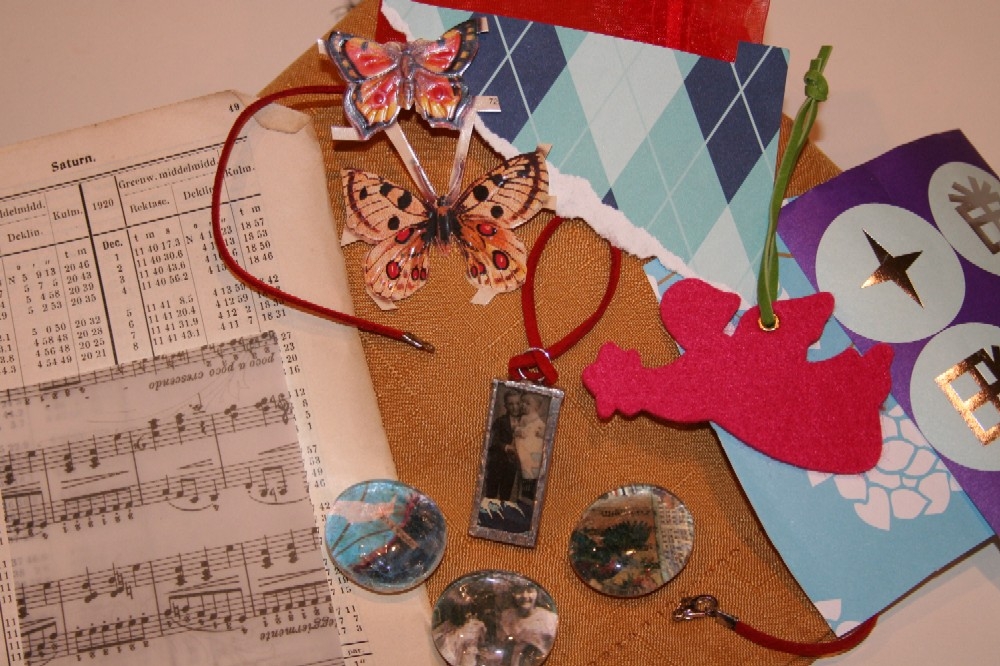
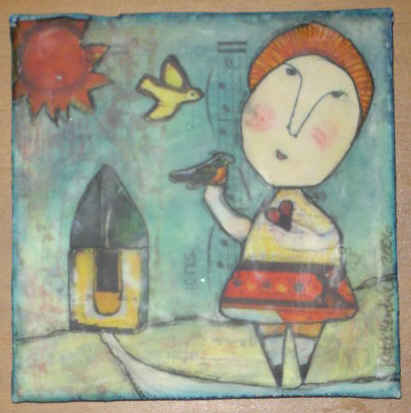
4. Make appropriate artwork/collages on all the other panels using whatever
means you like. You don't have to stick to the 'square panels' when
designing your collages, but I'd suggest you do for the first one you make
till you get the hang of the folding process. Avoid making your collage too
'lumpy' - it might interfere with the quality of the colour copying. Under
the 'X' on the overlap panels, make a note of the image/word that will be
GLUED ON TOP of it.
5. Colour photocopy the sets of collaged squares & cut them out. I had mine
photocopied on regular 20 lb. ivory bond, rather than the usual higher
quality (& thicker) bright white paper that most copy shops use for colour
copies, so the pages would be slightly rougher to the touch, and a little
more old-fashioned in colour.
6. Folding squares 1, 3 & 5 ("Innies"): Place the square with the artwork
FACING UP, and fold it in half, bottom edge to top edge, then unfold. Fold
in half again, this time right side to left side, then unfold. Now turn the
artwork over, till it is FACING DOWN and do a diagonal fold so that the
bottom-right corner of panel#4 is touching the top-left corner of panel#1.
Unfold. Turn the artwork over and with the artwork facing you, gently pull
panels 1 & 4 together. The diagonal fold across panels 2&3 should make them
'collapse' toward each other in the center, pointing towards you. This is an
'Innie' square - it's artwork is concealed when folded.
7. Folding squares 2 & 4 ("Outies"): Place the square with the artwork
FACING DOWN, and fold it in half, bottom edge to top edge, then unfold. Fold
in half again, this time right side to left side, then unfold. Now turn the
artwork over, till the artwork is FACING UP and do a diagonal fold so that
the bottom-right corner of panel#4 is touching the top-left corner of
panel#1. Unfold. Turn the artwork over and with the artwork facing away from
you, gently push panels 1 & 4 together. The diagonal fold across panels 2&3
should make them 'collapse' toward the center, pointing away from you. This
is an 'Outie' square - it's artwork can be seen when folded.
8. The 'Tricky Bit': Glue the series of squares together, hiding the blank
overlaps as you go, starting with #1 (an Innie), #2 (Outie), #3 (Innie), #4
(Outie) and finishing with #5 (Innie). This is tricky because your overlaps
must be accurate, or the book will be clumsy to fold.
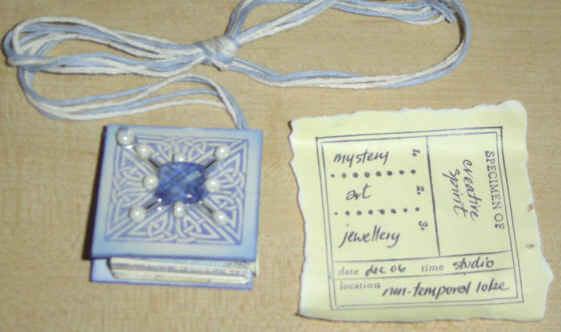
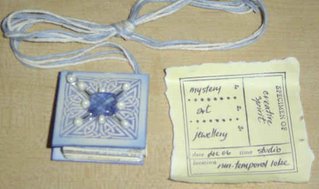
9. Cut two covers out of bookboard, measuring 1/4" larger than the FOLDED
book. For mine, the covers were 1.5" square. Stamp or otherwise decorate the
covers. For strength, put an eyelet or rivet in the top corner of both the
front and back covers.
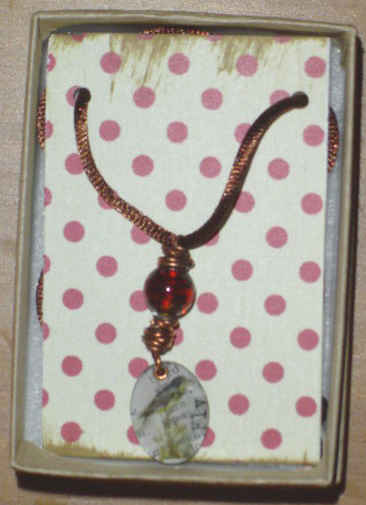
10. Cut a fairly long string. It should be strong enough for wear, but
skinny enough to go DOUBLE through the eyelet. String on a single bead and
push it to the middle of the string. Pull both ends (or in my case, all the
ends) through both eyelets, in through the front cover and out through the
backcover. I found one of those dental floss loops A BIG HELP in getting the
strings through the eyelets. The bead holds the covers of the 'book'
together when its folded.
11. Assembly: slide the back cover out of your way along the string, and
stretch out the 'book'. Put very strong double-sided tape on the back of
panel #1 of square #1, and line up the top-left corner of panel#1 with the
BOTTOM point of the front cover. Now put double-sided tape on panel#4 of
square#5, lining up the bottom right corner of panel#4 with the BOTTOM point
of the back cover.
12. Draw the string, sliding the two covers towards each other and the
'book' should fold as it closes. It may need its 'folds' reinforced to fold
smoothly. You can do this by compressing it tightly between your fingers
once it is folded correctly. Tie a knot at the end of the string - leave
lots of string, let people choose how short they want it to be.
13. About the beaded cover: I chose the celtic stamp for its geometric
quality, so I could make a 'snowflake' by glueing beads on using 'Goop'
(the purple 'household' tube). Goop is incredibly strong once set, but has a
fairly long working time - so important when you're placing beads with tweezers!
Last minute item: Creating a book using all 'Innies' will open in a circle
that can be tied open for display or hanging, although the stringing
arrangement would have to be modified. Have fun!

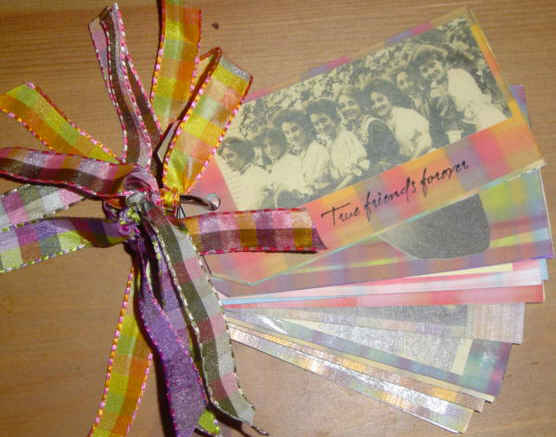
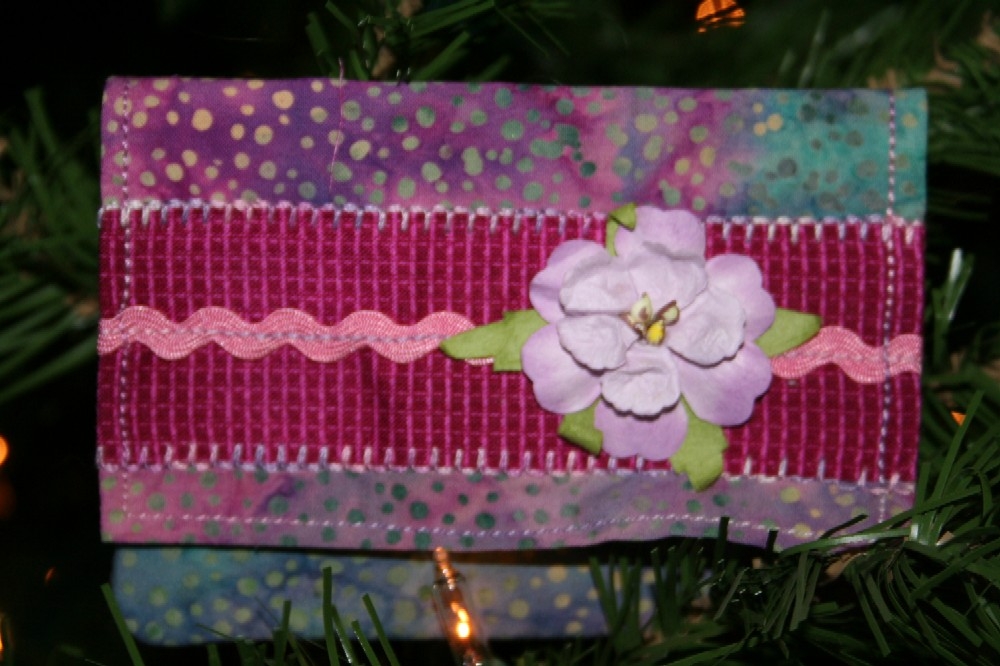
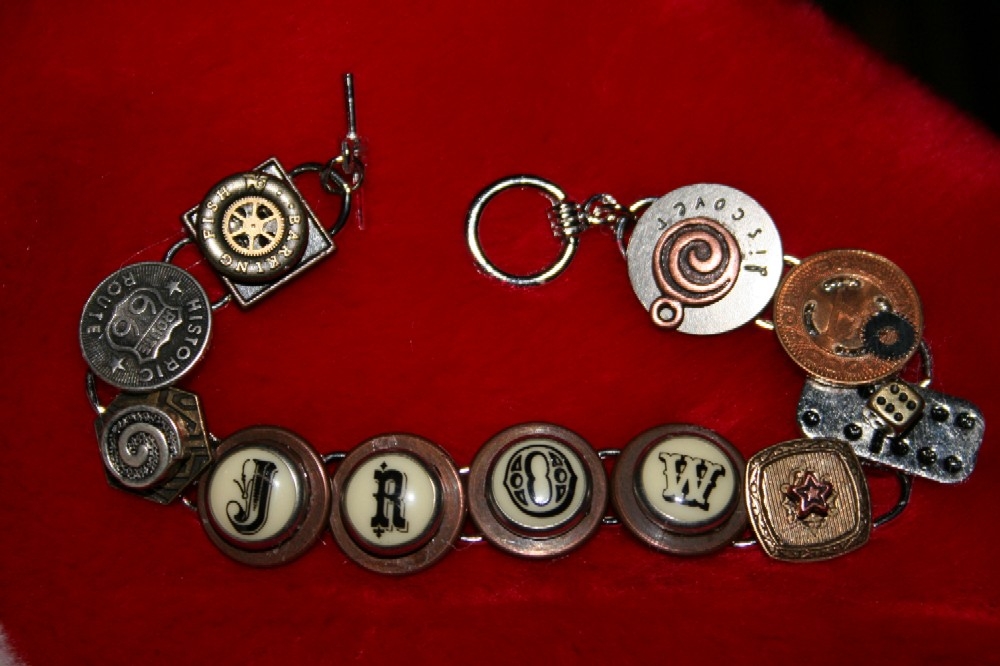
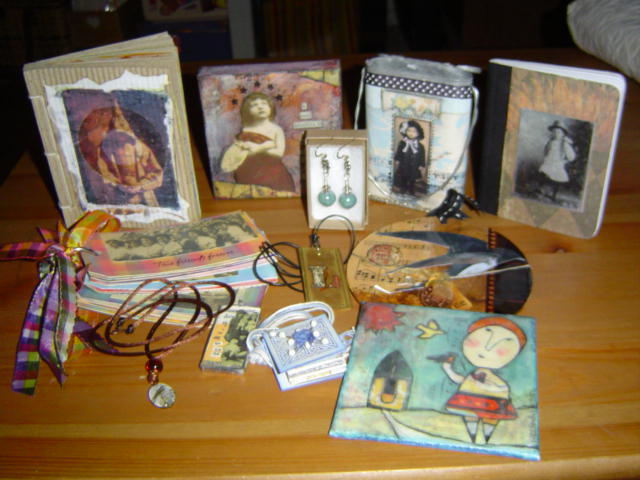
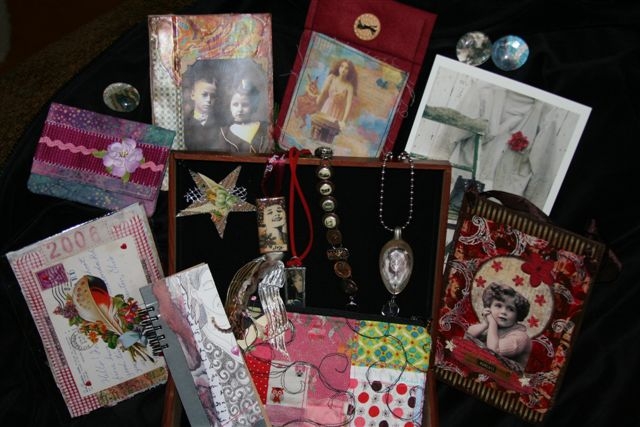
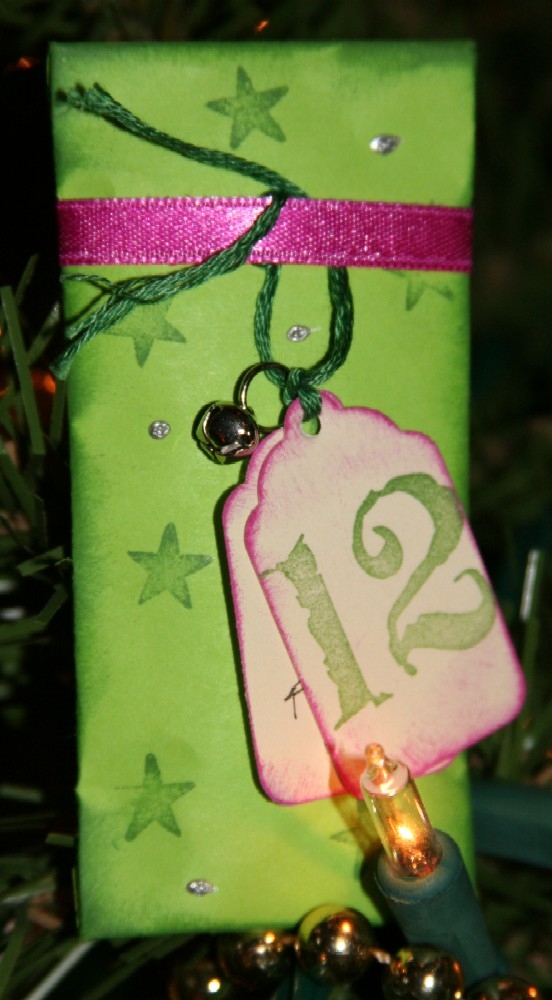
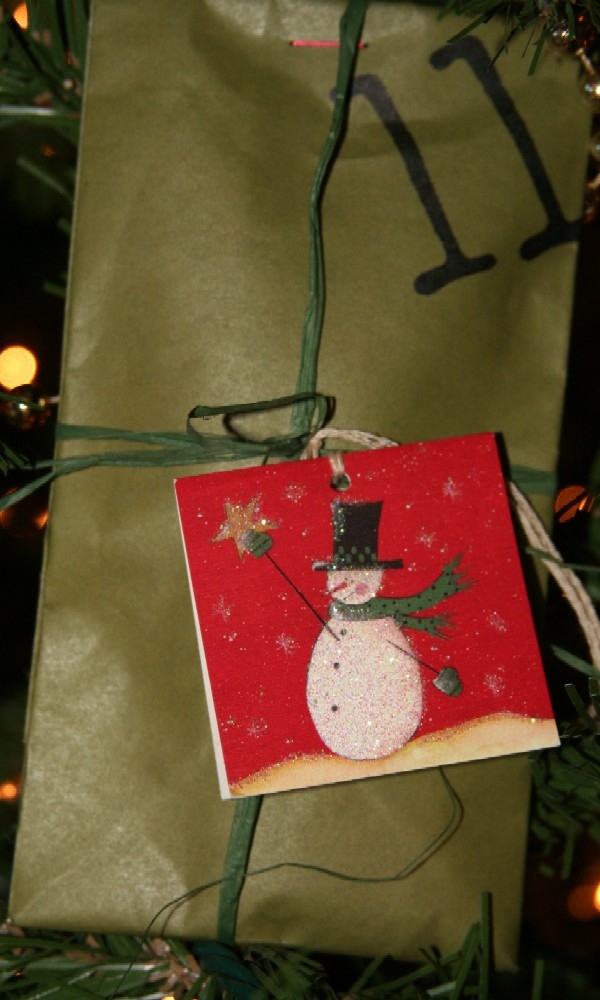
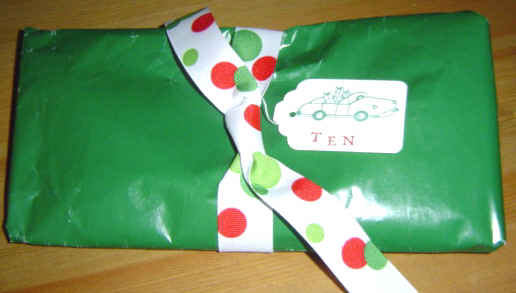
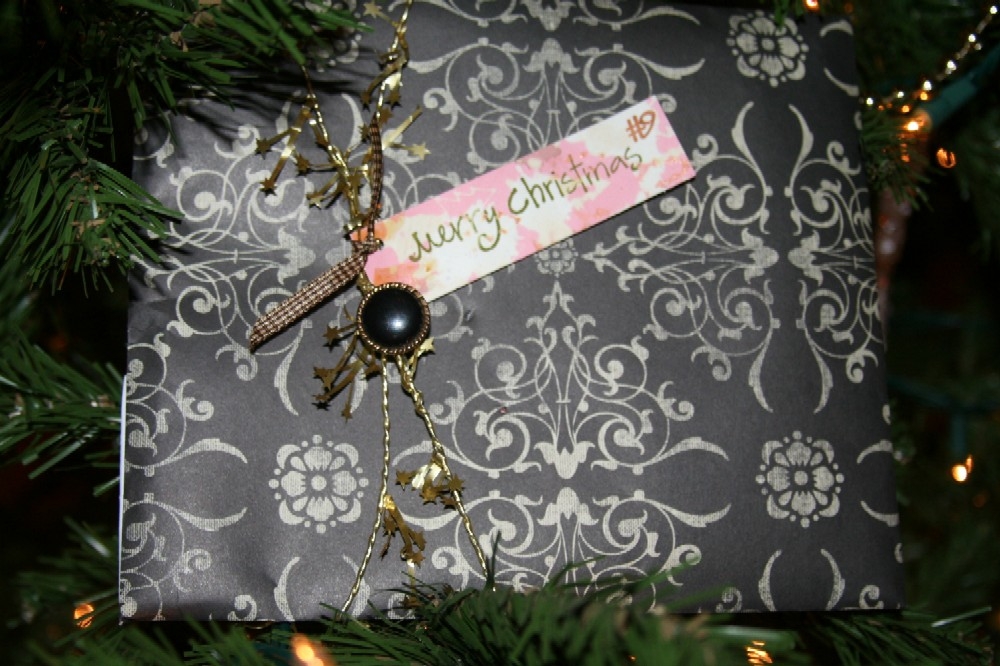
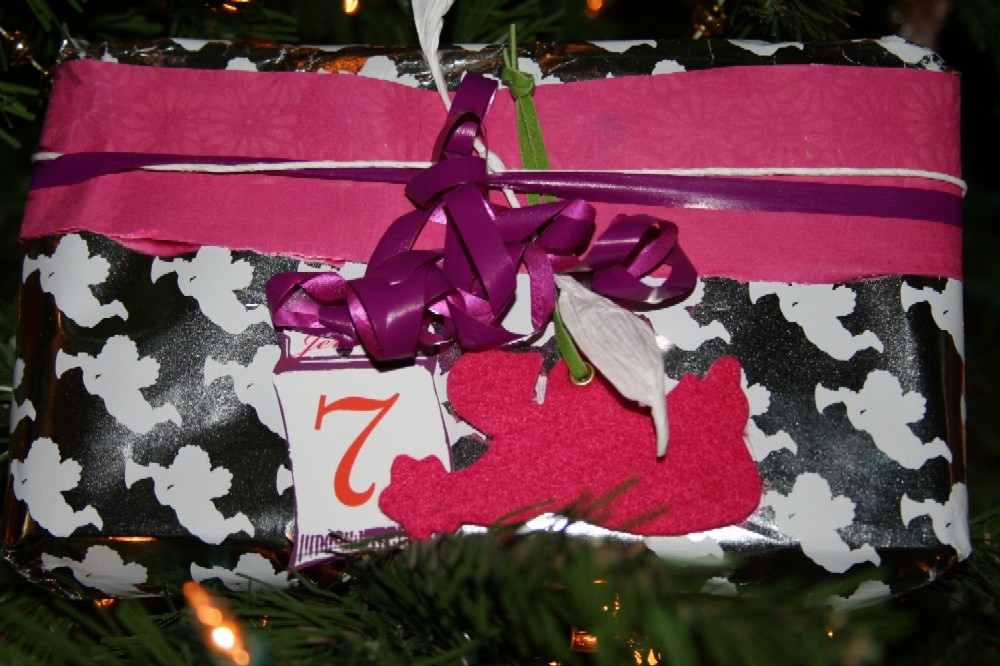
 Imagine, if you will, a group of friends exchanging 12 handmade gifts through the mail. Each person carefully saves the gifts they've received. Beginning December 13 they will open one gift a day for each of the 12 days of Xmas. Can you imagine how delighful and exciting that would be?!? We could-that's why we're doing it!
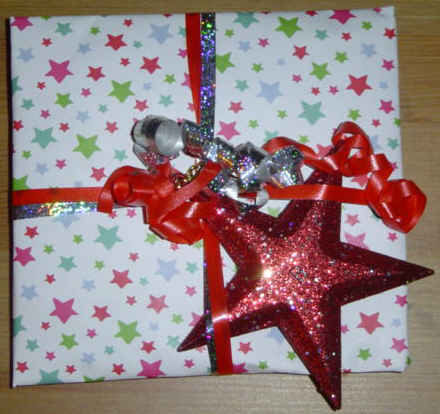